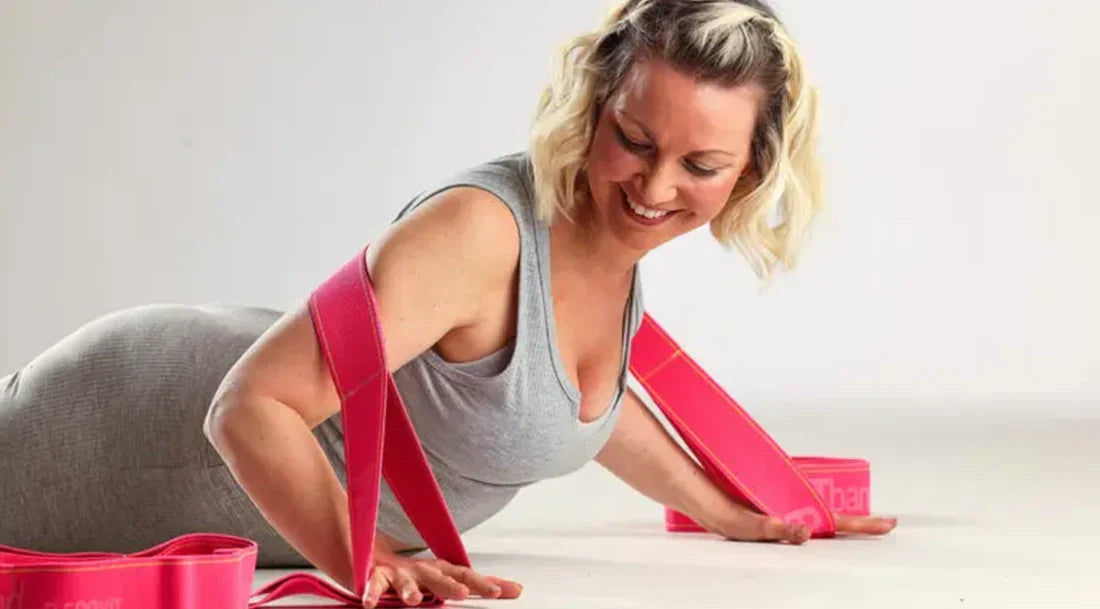
Yoga and strength training – Do you want to start yoga or improve your yoga practice? Then try yoga with elastic bands. Use this simple training tool to create learned poses with more stretch or strength. You can also use the specific properties of elastic bands to make challenging postures easier to learn at the beginning.

With our Patband / Yogaband we can easily combine yoga and strength training!
Yoga as a sport
At first glance, many people see yoga as a calm sport that is mainly about stretching and introspection. But that is only one side of this varied sport. Yoga practice is divided into many different styles. Some of these practices focus more on calm fascia training that includes breathing and meditative aspects. However, there are also many yoga variations that make you sweat a lot and make your muscles tremble.
Hatha yoga and Iyengar yoga in particular are gentler practices. But here too, taking and especially holding certain poses can be challenging. The exercises consist of an alternation of strength and relaxation and thus improve the overall body feeling by training balance and body tension. Yoga often involves whole-body exercises, but in which a specific muscle group is particularly activated. For example, the boat position or the forearm support particularly target the center of the body. In addition, the many stretching elements increase flexibility and mobility over time. The longer the individual exercises are held, the more strenuous and effective the yoga session is.
Things get even more serious with power, vinyasa, ashtanga or hot yoga . Power yoga in particular is particularly suitable for building muscles and reducing body fat. How does this work? The already strenuous yoga poses are intensified in these practices, especially through longer active phases and shorter breaks. In dynamic flows there is more movement and the asanas themselves become more demanding. Bikram and hot yoga are particularly sweaty because these versions of yoga are held in specially heated rooms.
Get our yoga set now & take your yoga and strength training to the next level!
Yoga “with resistance”
Many people are familiar with the typical yoga tools: First and foremost, of course, a yoga mat, which makes performing the exercise on hard surfaces more comfortable. Yoga blocks and bolsters are also often used to make certain exercises easier to perform, especially at the beginning. Non-elastic yoga bands or straps are also ubiquitous and can be used to support stretching exercises.
But if you integrate an elastic resistance band into your yoga, completely new design possibilities and flows open up. With our agoYoga concept we achieve the following:
- Improve stretching: Pull and stretch more into a specific posture and use the strength of the bands for yourself. It allows you to stretch not just passively, but actively. With “strength in stretching” (KiD), you increase mobility, which helps to improve body awareness and prevent injuries.
- Support poses: Certain postures can be very demanding, especially as a yoga beginner. You can use your resistance band for extra help, stability and balance to move more smoothly in and out of asanas.
- Improve body awareness: When doing yoga with resistance bands, you can target muscles and muscle chains much more specifically. The bands provide tactile stimuli that make it easier for you to analyze your posture yourself and correct it if necessary. With their help, incorrect movement patterns (compensation) can also be corrected.
- Intensify asanas: As the name suggests, resistance bands can help advanced yogists bring additional power and intensity to their asanas. This takes advantage of the increasing resistance of elastic bands, as well as the ability to create rotation in all directions.
Rediscover yoga: Even for old yoga hands, yoga with elastic bands is a way to break habits and breathe new life into your own training.
Yoga and functional training
Functional training involves activating several muscles, so-called muscle chains, at the same time through complex exercises. Instead of training individual muscles in isolation, the focus is on using the exercises to improve the overall quality of movement in a functional and multidimensional way.
Yoga and functional training both make use of your own body weight, gravity and a holistic view of the body. So why not combine the two forms of sport?
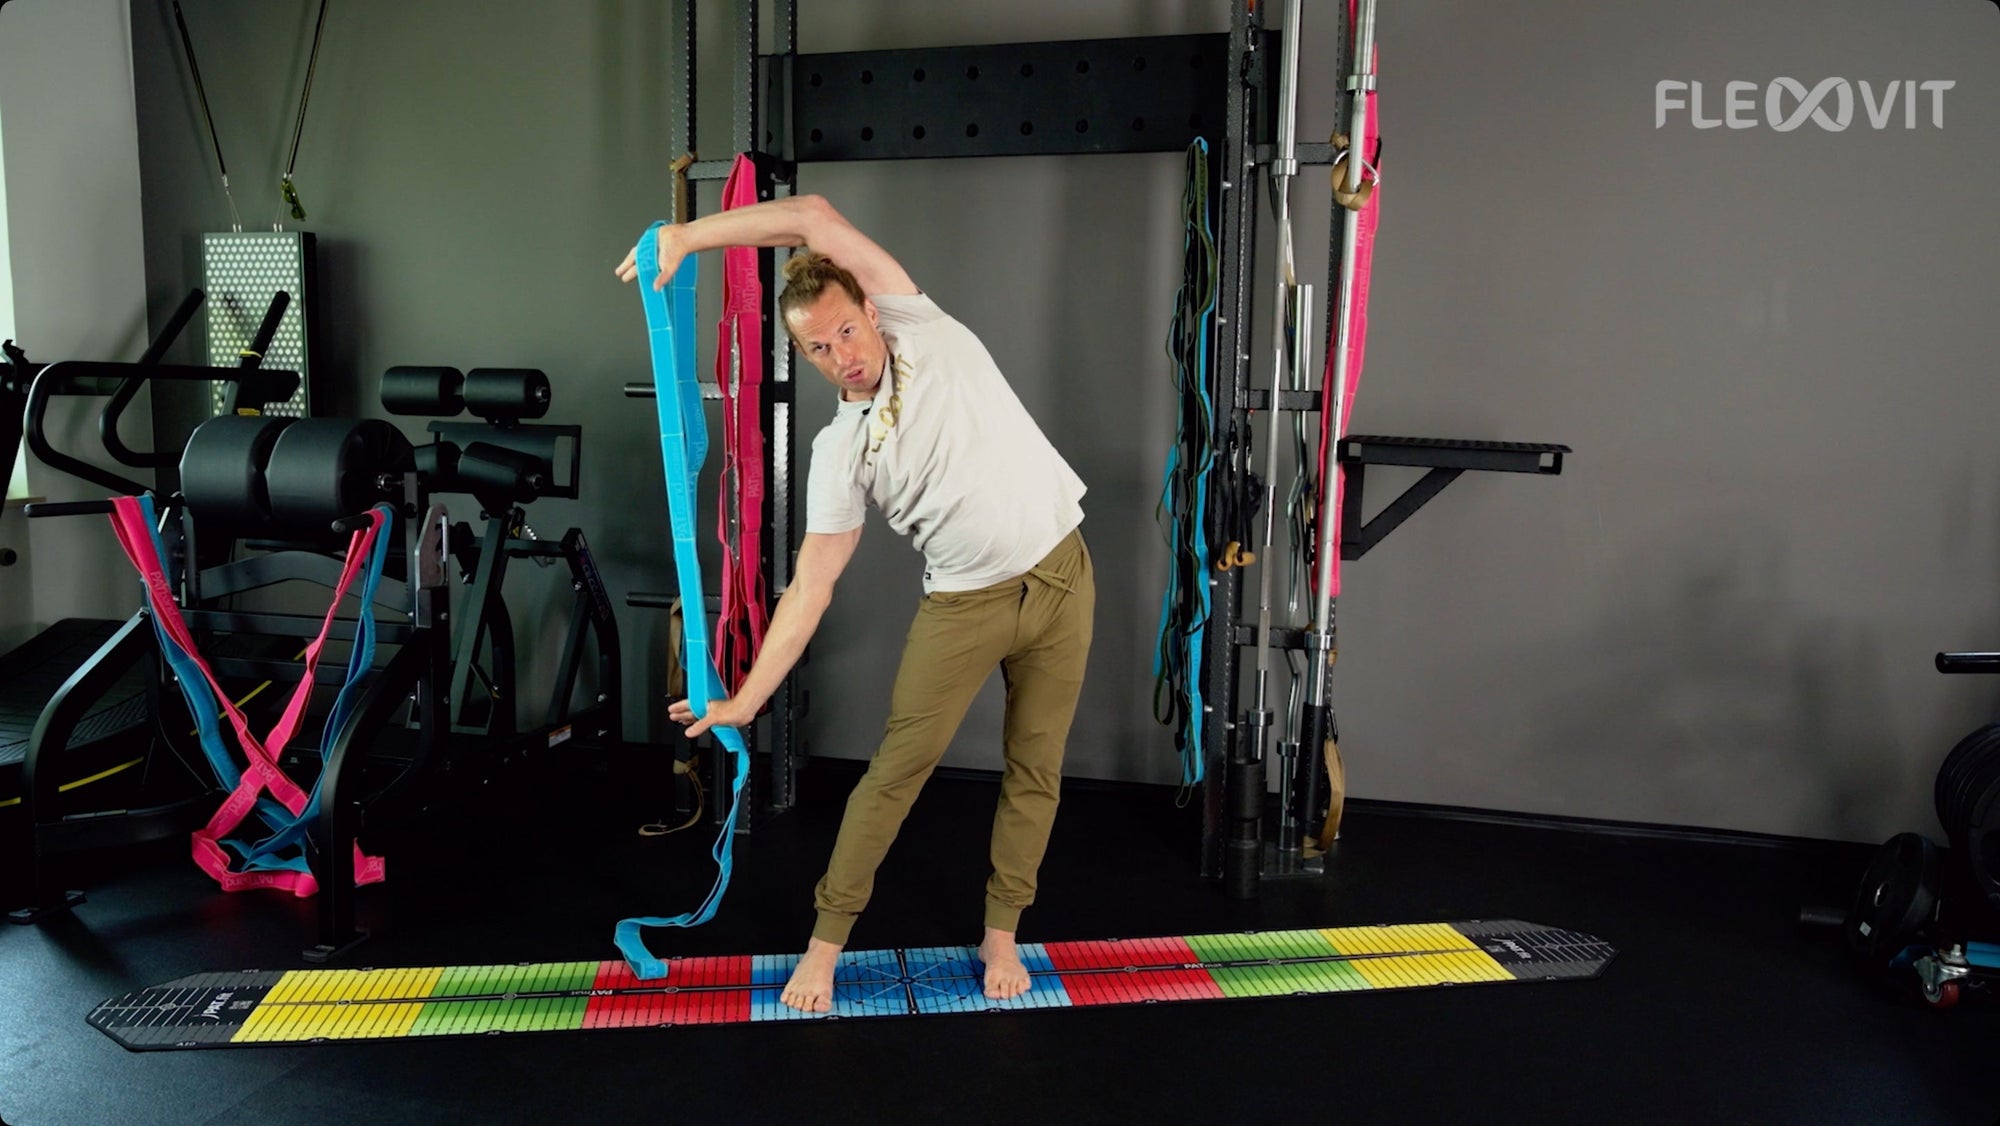
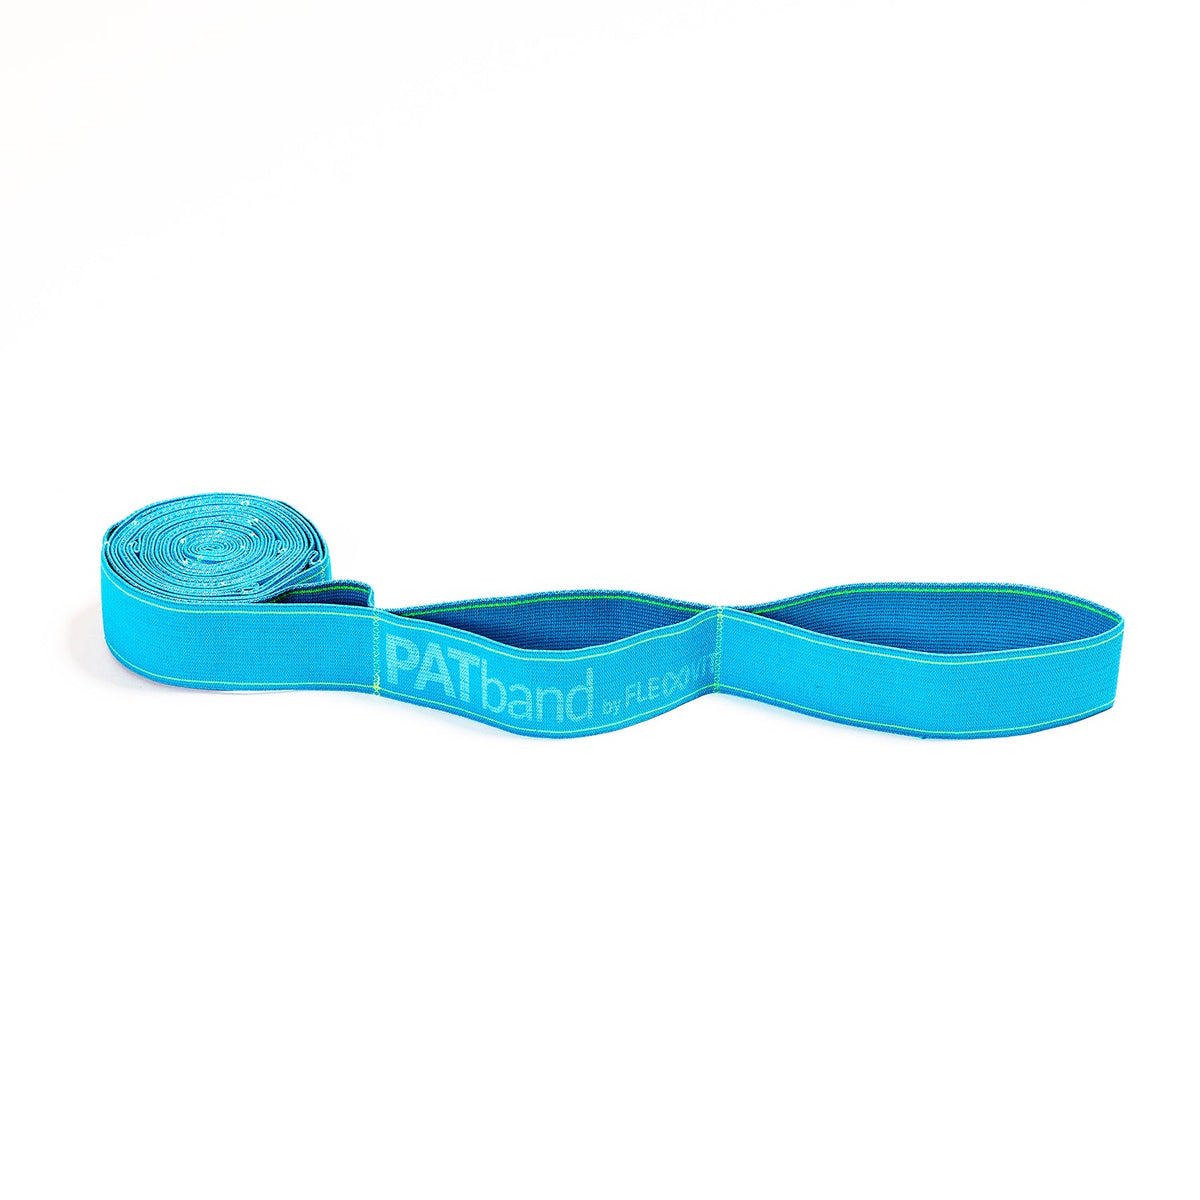
Together with yoga teacher Laura Biemann and personal trainer Patrick Herzog, FLEXVIT has developed the PATband soft, which is specifically designed to functionally expand yoga by incorporating elastic bands. With a length of approximately three meters and 15 sewn-in loops, the PATband is incredibly versatile and can be used across the entire kinetic chain. Not only can it be used to support and complicate almost all exercises - it also enables body-hugging rotations for the first time using special body strapping techniques.

How do I combine yoga and elastic bands?
The special advantage of the PATband is that the resistance can be adjusted for every exercise, body size and individual requirements thanks to the many loops. To find the right tension for you, whether to support an exercise or to increase effort, place either your hands or feet in the loops that work best for you.
We have prepared a few exercises for you in this article. Otherwise there are no limits to you and your creativity. Use the resistance band to stabilize, pull yourself into a stretch or create additional resistance that will bring an extra dose of sweat to your face.
Yoga exercises: We show you yoga and strength training with the PATband
More balance
The standing scales – or warrior 3
This exercise particularly addresses the sense of balance and body tension. In Hatha Yoga, this pose is also known as Utthita Satyeshikasana. It is considered an energy generator and source of strength that is suitable for every yogi. In this asana, the spine stretches and stretches, which ensures pleasant activation, especially after long periods of hunched sitting at the desk and other compressed positions. You also mobilize your hips. In order to keep the balance, the sense of balance has to work hard - so the physical balance, strong core and grounded feet are expected to transfer to inner, psychological balance and peace.

What is the easiest way to get into the standing scale?
Start in a neutral position. Stand with your feet hip-width apart and then raise your arms as you inhale. You can now choose whether you want to keep your arms stretched out while you tilt your upper body horizontally forward as you exhale and at the same time lift one leg straight. Alternatively, you can use a breath in between to hold your hands next to your upper body or maybe even start in cactus arms while you get horizontal.
Once you have reached this point, keep your supporting leg slightly bent and try to keep your hip joints in particular at the same height. The joint of the leg you are lifting should tilt downwards nor move upwards. At this point, if you have your arms next to your torso or in the cactus arms, you can now extend your arms forward for a little balance and strength exercise.
Standing scales with resistance band
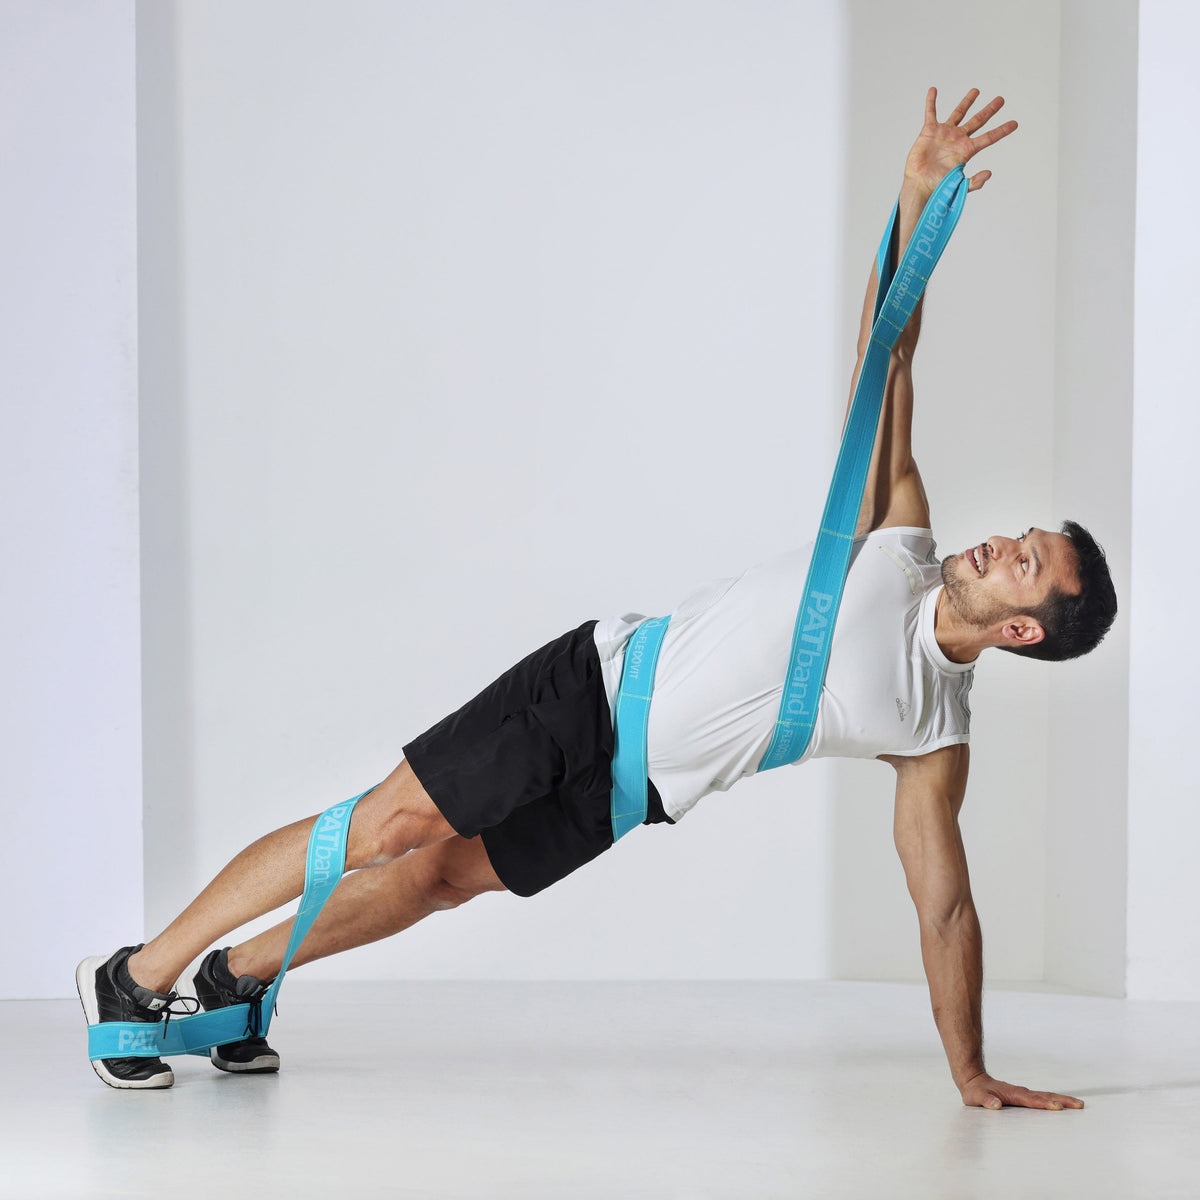
You can use the PATband by grabbing the loops with both hands and then placing the middle of the band around the foot that will rise. Pay attention to the right distance - the resistance should support you, not be too tight or too loose. If you then move horizontally, the PATband can give you additional balance at the beginning of this exercise, as the forces create tension along the entire length of your body. In addition, your stretching is supported by this external stimulus. If you hold your arms at the sides of your body or in the cactus arms and first stretch them out horizontally, you will also train your strength with the PATband.

Combine yoga and strength training
1 – The Bridge Pose
The glute bridge is not an unknown exercise, and under a slightly different name, the exercise is also used as the bridge pose in yoga. Sitting for long periods not only puts strain on the spine, but also stiffens the gluteal muscles. In the long term, this can lead to back pain and tension, which can also extend to poor posture during other everyday movements. Therefore, it is recommended to activate the glutes and lower back muscles with Bridge Pose to provide a counterbalance to other curved postures.
How does Bridge Pose work?
Lie on your back on your mat and place your feet hip-width apart in front of you with your knees bent. Your arms can lie straight next to your body. Once you have arrived here, you now raise your hips. The further away your feet are from you, the more you work your hamstrings. If your feet are closer, your buttocks are more likely to be targeted. Repeat this movement slowly and consciously. Always stretch completely upwards as far as you can in order to take advantage of the training effect of your entire range of motion.
Bridge pose with resistance band
First insert one foot into the last loop of the PATband. Then wrap the band around both legs like a figure eight. The other end of the PAT band should then be placed again around the foot around which the first loop is also located. Also use the loops to anchor both knees. When you now perform the Bridge Pose movement, additional resistance acts on your muscles - voila, welcome to strength training.

2 – The Cobra
The Koba is a back bend performed from the prone position. It may look relatively unspectacular, but it should not be underestimated. The back and neck are particularly active during this movement, but strengthening them can improve your entire posture and reduce pain. The spine, chest, stomach and shoulders are stretched. When done correctly, the buttocks are also active and the internal organs are stimulated by this posture. In addition to the physical components, this asana is a so-called heart opener. The chest pointing upwards should therefore symbolize an open heart and thus become particularly receptive to new energy and the courage to accept feelings towards others and yourself.

Your way into the Cobra?
You start in a prone position. In your starting position, your forehead rests on your mat, as do the tops of your feet. Your legs are hip-width apart. Now place your hands flat next to your chest and keep your bent elbows close to your body. Now activate your pelvic floor, buttocks and leg muscles to gently lift your upper body. Proceed slowly and consciously here. The strength you use to lift yourself should come from your back, not your arms - this is important, among other things, to strengthen the muscles you want to strengthen in your neck and back. On the other hand, you protect your spine because you let your muscles work and don't push your back into an unhealthy hyperextension with your arms. The head should not be overstretched either. Try to hold this position for a few seconds and breathe calmly before slowly lowering yourself back to the starting position.
Cobra with resistance band
Place the PATband over your shoulder and then grab a loop with one hand at a time. This creates an artificial pull downwards when you rise into the cobra and your back muscles will have to work noticeably more. At the same time, relaxation after tension will be even more pleasant and restorative afterwards.
Yoga for flexibility & stretching
1 – Half forward bend
In the half forward bend, one leg is bent with the foot on the inner thigh of the outstretched leg. During the following forward bending of the upper body, the hamstrings and lower back in particular are stretched. Depending on your existing mobility, the outstretched leg points straight forward away from the body. However, the leg can also be placed further outwards, creating a straddle position. However, depending on how the upper body is lowered (either straight forward or over the leg stretched outwards), the stretch shifts from the hamstrings towards the inside of the thigh. It doesn't hurt to try and vary things up a bit - both stretches have a positive effect on pain and overall posture.

How do you get into the half forward bend?
Sit on your mat and extend one leg straight forward for the basic version of the half forward bend. The other leg is bent so that your foot touches the inner thigh of the other leg. From this position, you lower your upper body forward without your back becoming arched - your shoulders should also be active and not fall forward. You can use your hands and arms as supports to slowly feel your way forward. Particularly for beginners, work can end very early here. But don't worry, over time you will be able to sink lower and lower, even with a straight back.
Half forward bend with resistance band
Place the PATband with a final loop around the outstretched leg. Then wrap the band around your back from behind, and then over the opposite shoulder and forward again to the side of the bent leg. Here you can place a loop around the bent knee depending on your sensitivity and mobility. This also triggers your back muscles when you sit upright. At the same time, pulling forward can help you feel a deeper stretch in the forward bend.

2 – The Pidgeon Pose
The Pigeon Pose is a very popular asana in yoga, the basic variation of which stretches the hips and lower back in particular. This posture improves mobility in the hip joint, which acts as a preventive measure against sitting for long periods of time. In fact, Pigeon Pose is also said to stimulate digestion. In Ayurveda it is also assumed that stress, fear and sadness accumulate in the hips. Hip openers like Pigeon Pose are intended to help you let go of these negative feelings.
How does Pigeon Pose work?
Start in downward dog. To do this, get on all fours and put your hands up. Now press into your hands and feet, straighten your legs and lift your hips towards the sky. Your body is now in an inverted V position. Now lift your right leg off the floor and bring your right knee to the back of your right wrist. Rotate your right shin so that it is parallel to the front of the mat. While your right leg is bent on the mat, your left leg also comes stretched out to the floor. Move your right knee outward so that it is further to the right than your hip, and make sure your foot is flexed dorsally (toward your shin). Now gently lower your right buttock towards the floor. The weight should still be evenly distributed on both hips. If this pose is too challenging at first, you can place a folded towel under your right buttock. Place both hands under your shoulders and gently push up to lengthen your spine. The gaze is directed forward.

What is King Pigeon Pose?
To get into King Pigeon Pose, first follow all the steps to get into the basic variation. Then, with your right leg bent, you should now slowly lift your outstretched left leg and pull it towards your back. Your feet should be flexed to protect your knee joint. For an extra stretch, tilt your head back and open your heart.

